Nerdaxe Gamma Setup

Step-by-step setup guide
In this guide, we show you step by step how to start up the Nerdaxe Gamma for the first time after delivery.
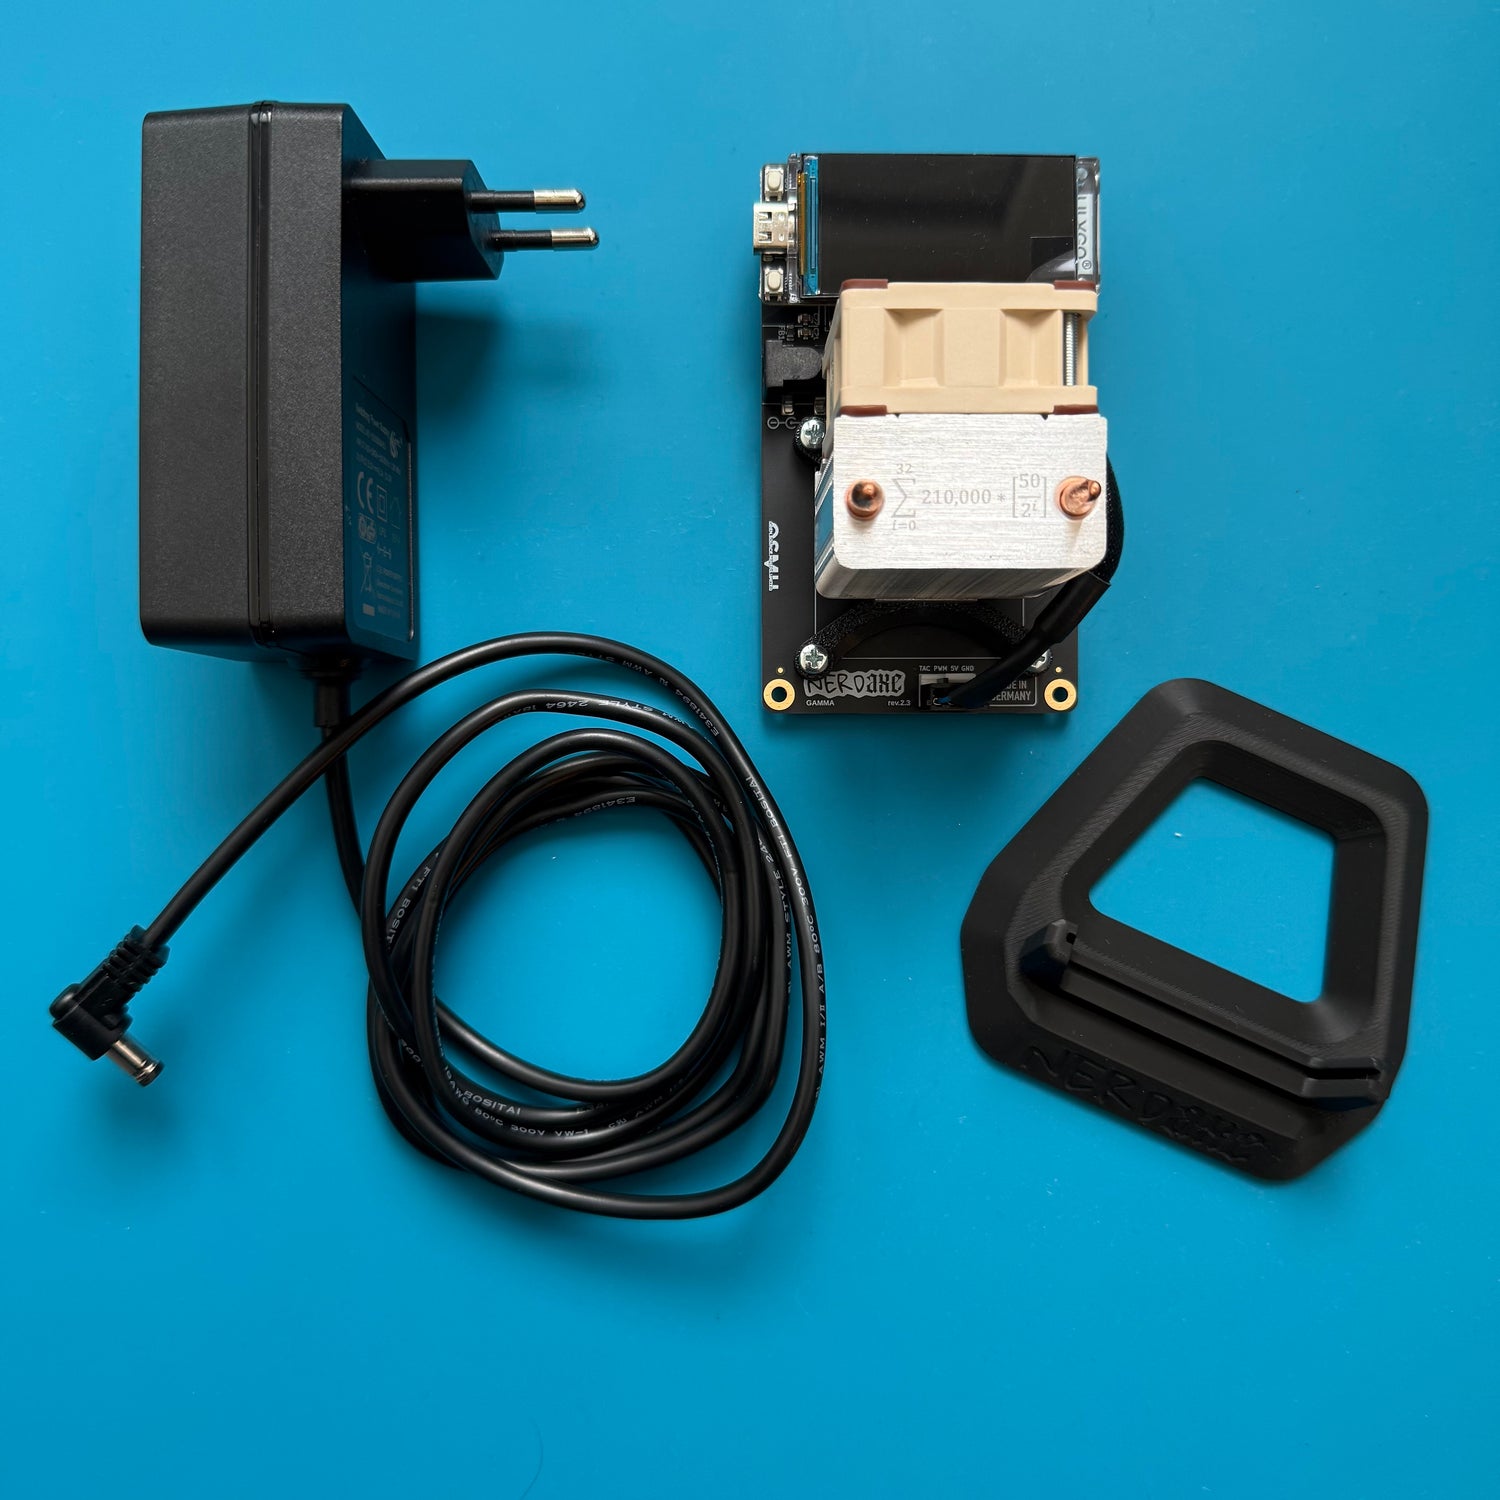
Included in delivery
The delivery includes your Nerdaxe Gamma with power supply and power cable, as well as the corresponding mounting kit with stand to showcase your new home miner.
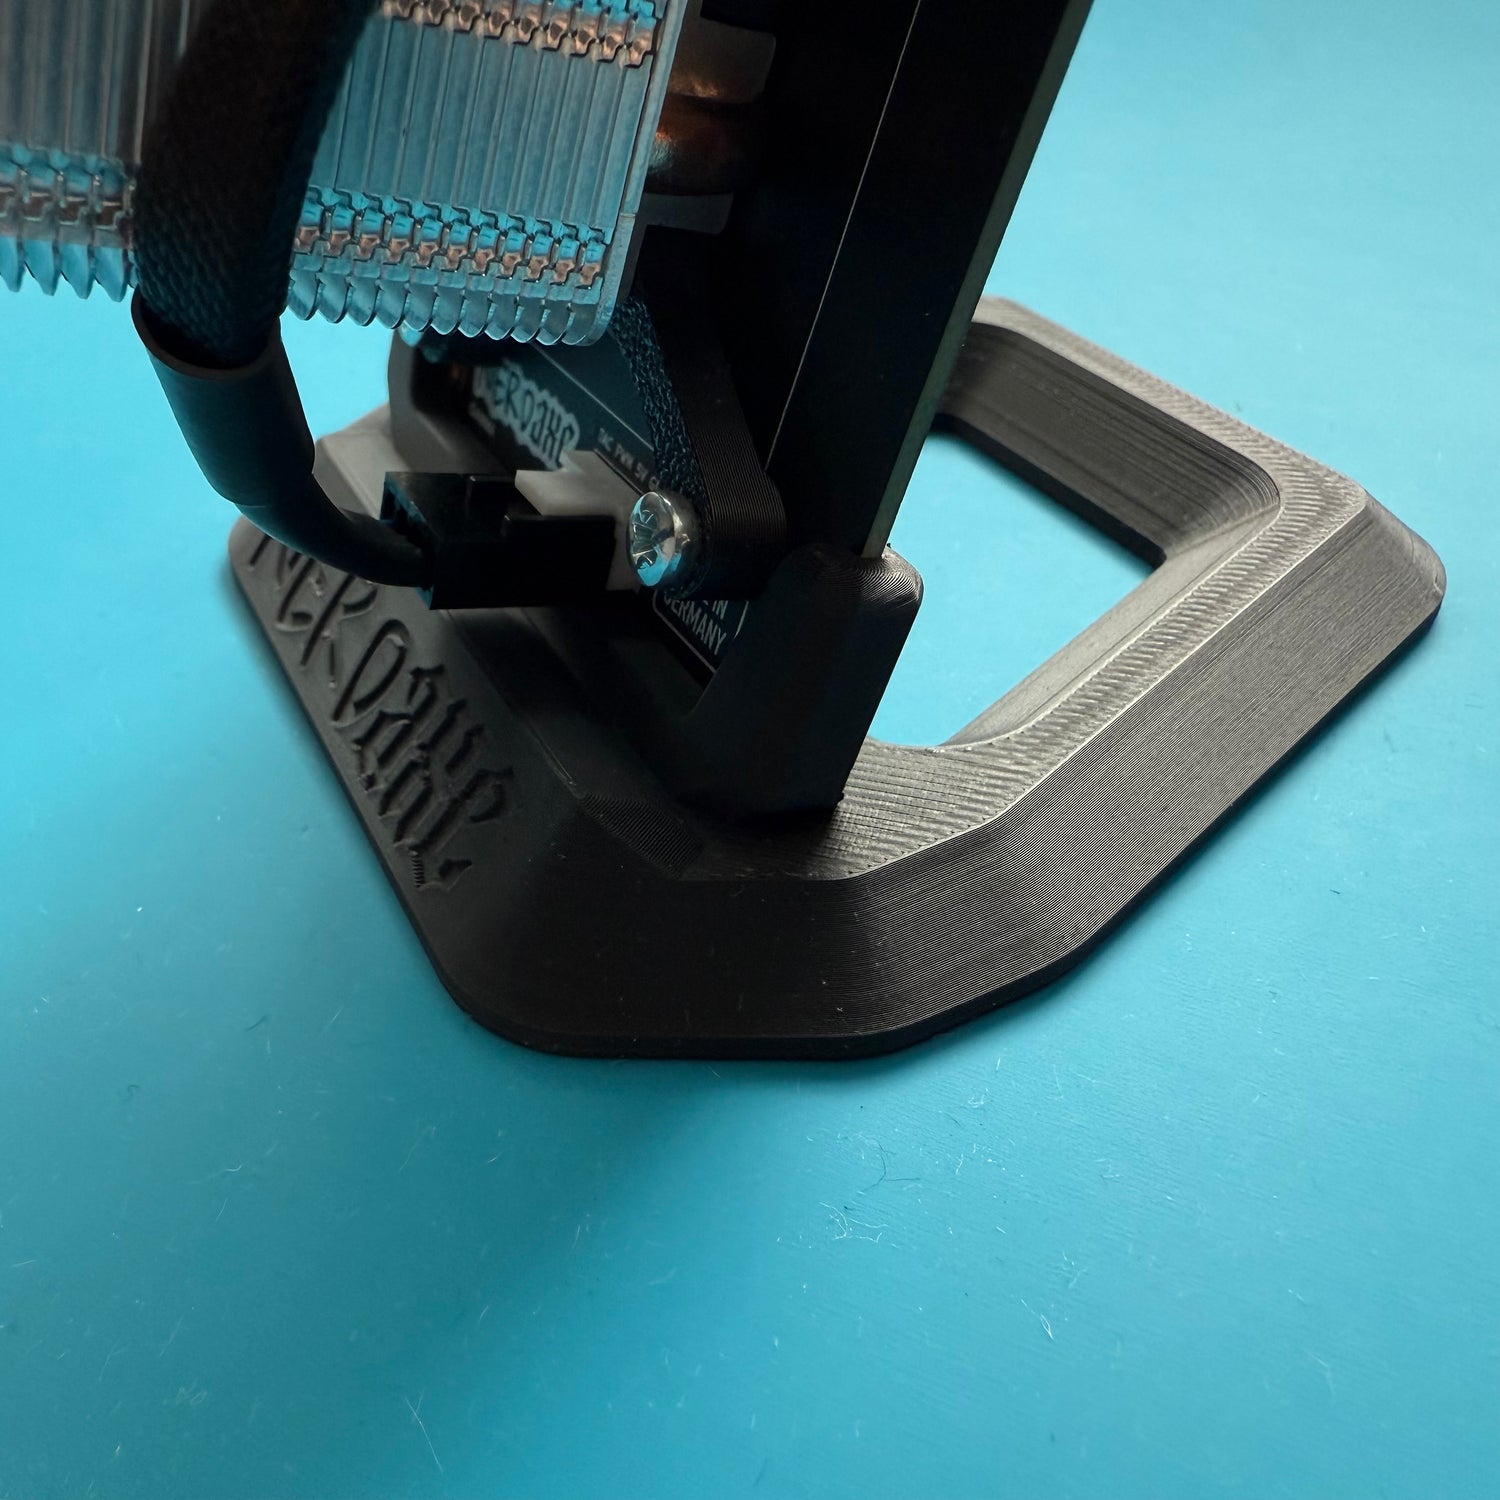
1. Assembly
Carefully place the Nerdaxe Gamma in the holder, which should fit perfectly.
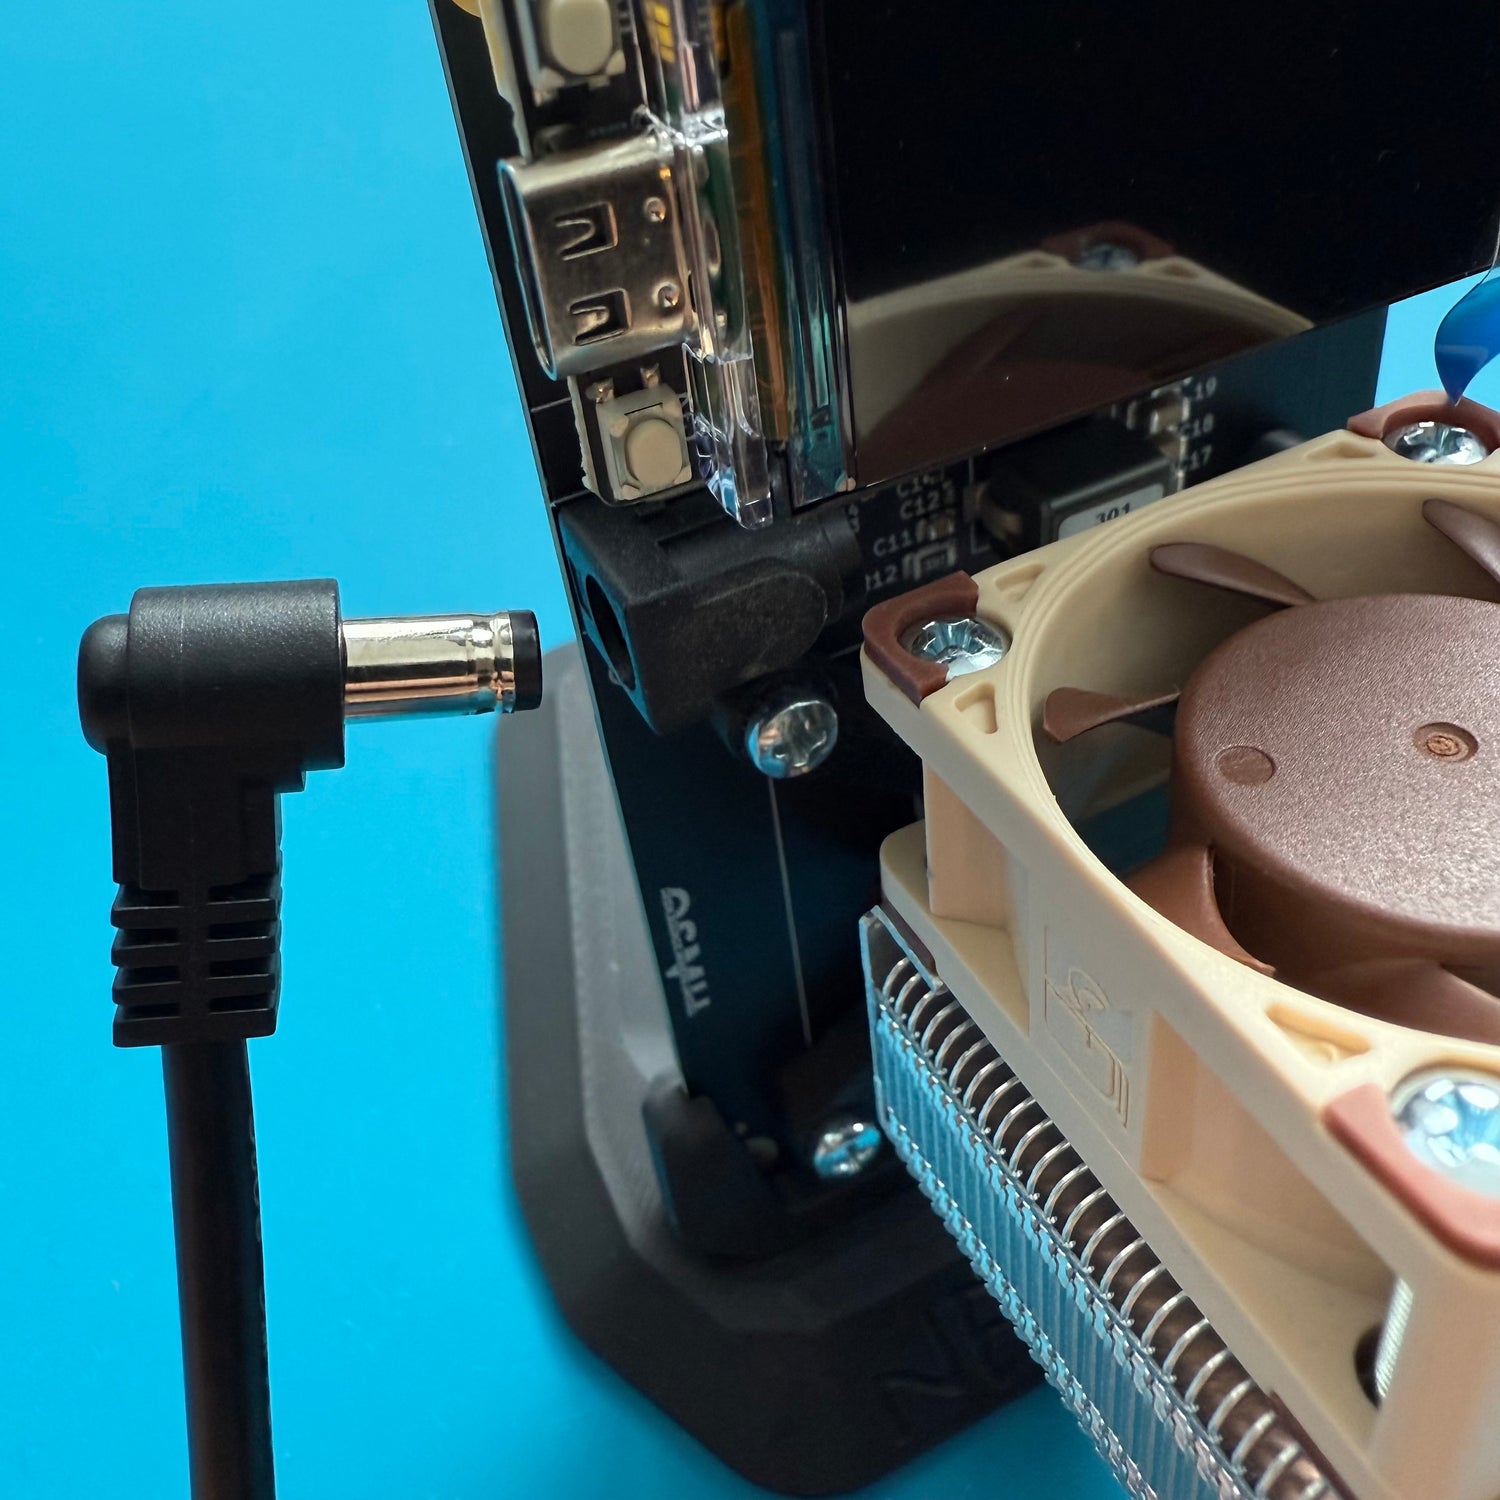
2. Plug in
Plug your Nerdaxe into a power socket using the supplied power adapter and connect it to your Miner.
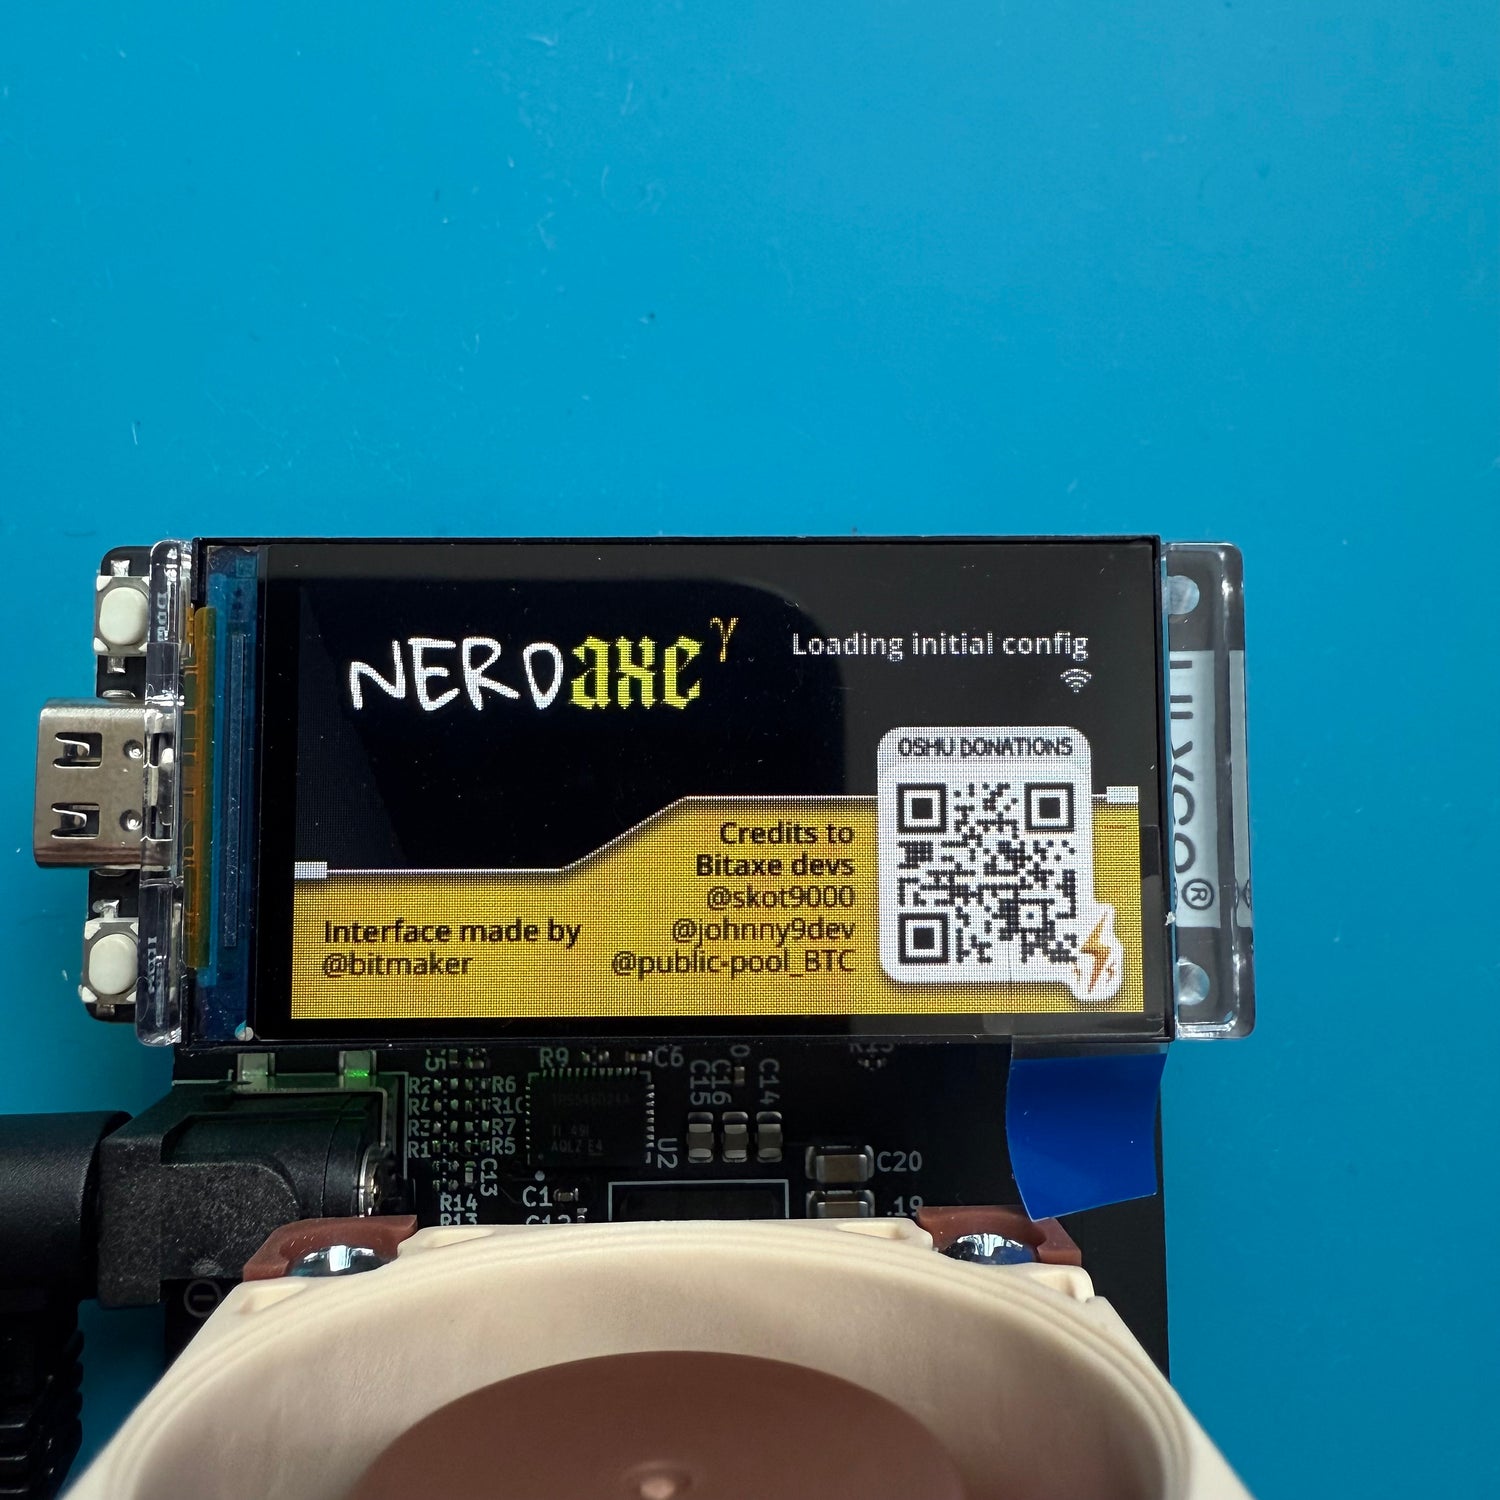
3. Connect to Wi-Fi
Connect to the Nerdaxe via your smartphone or computer. The Nerdaxe Gamma should appear in your search list as Nerdaxe_xxxx (xxxx = sequence of numbers). The following screenshots show the connection via browser.
Important note about network configuration
Both the Wi-Fi name and password are
case-sensitive. Special characters and spaces must also be entered
exactly; otherwise the Bitaxe can’t connect to your network. It’s best
to use the built-in Wi-Fi scan (button to the right of the Wi-Fi SSID field).
Tip: If the connection still fails, try your router’s guest-Wi-Fi. That often works more easily.
4. Network configuration
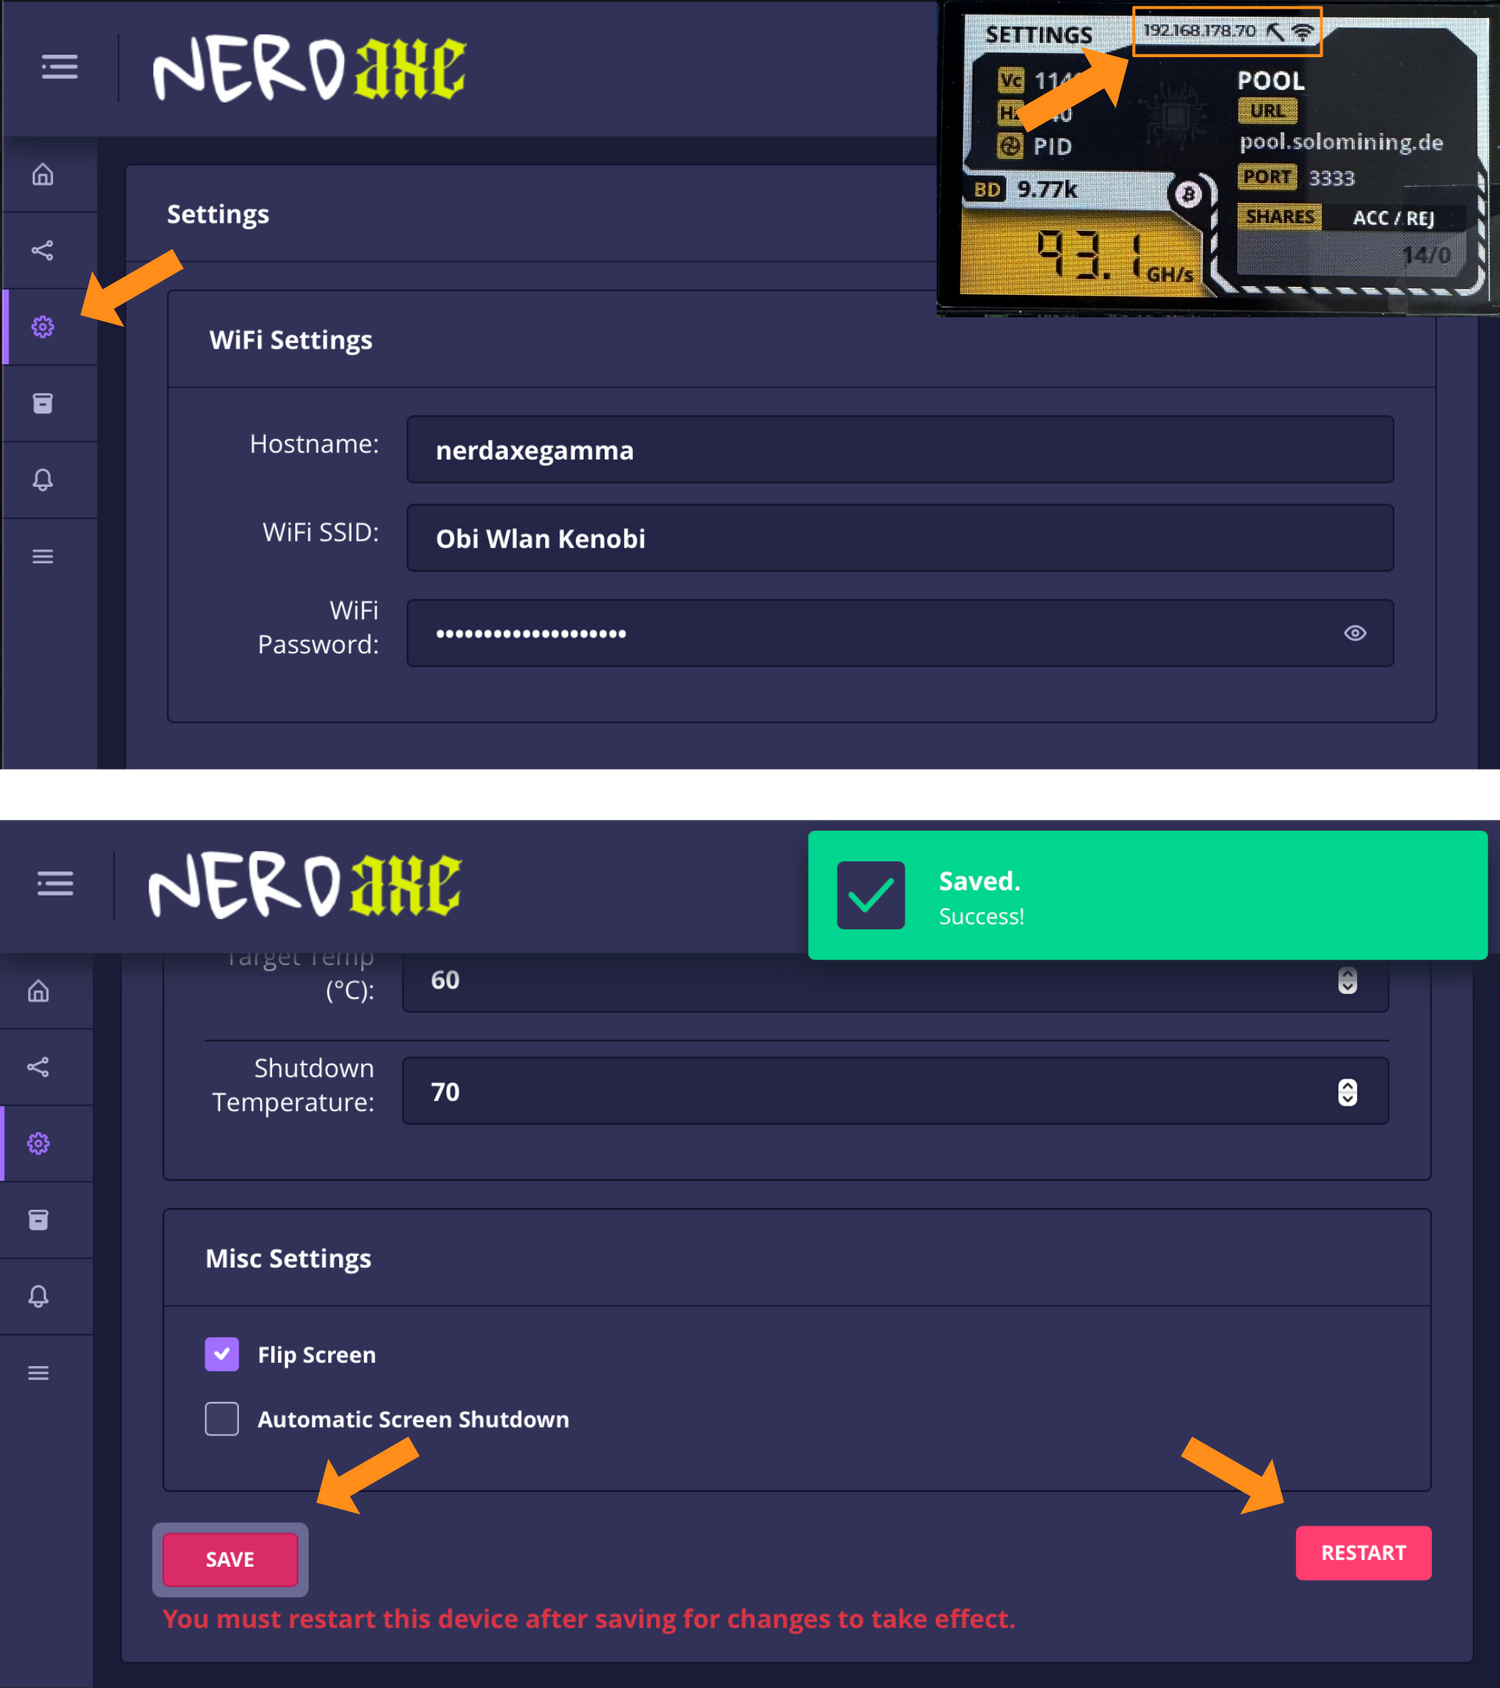
After connecting to your Nerdaxe Gamma, enter the IP address of your Nerdaxe in your browser. You will find the address on the display of your miner.
If the IP address is not visible, you can use the buttons next to the display to switch between pages until you find the correct view. You can access the network configuration view by clicking on Settings (gear icon) in the left-hand menu column.
Enter your Wi-Fi credentials:
- Hostname: the device’s name on your local network (can usually be left as is)
- Wi-Fi SSID: the name of your local Wi-Fi network
- Wi-Fi Password: your Wi-Fi password
Tap Save and then Restart. The NerdQaxe++ will now reboot.
5. Mining Settings
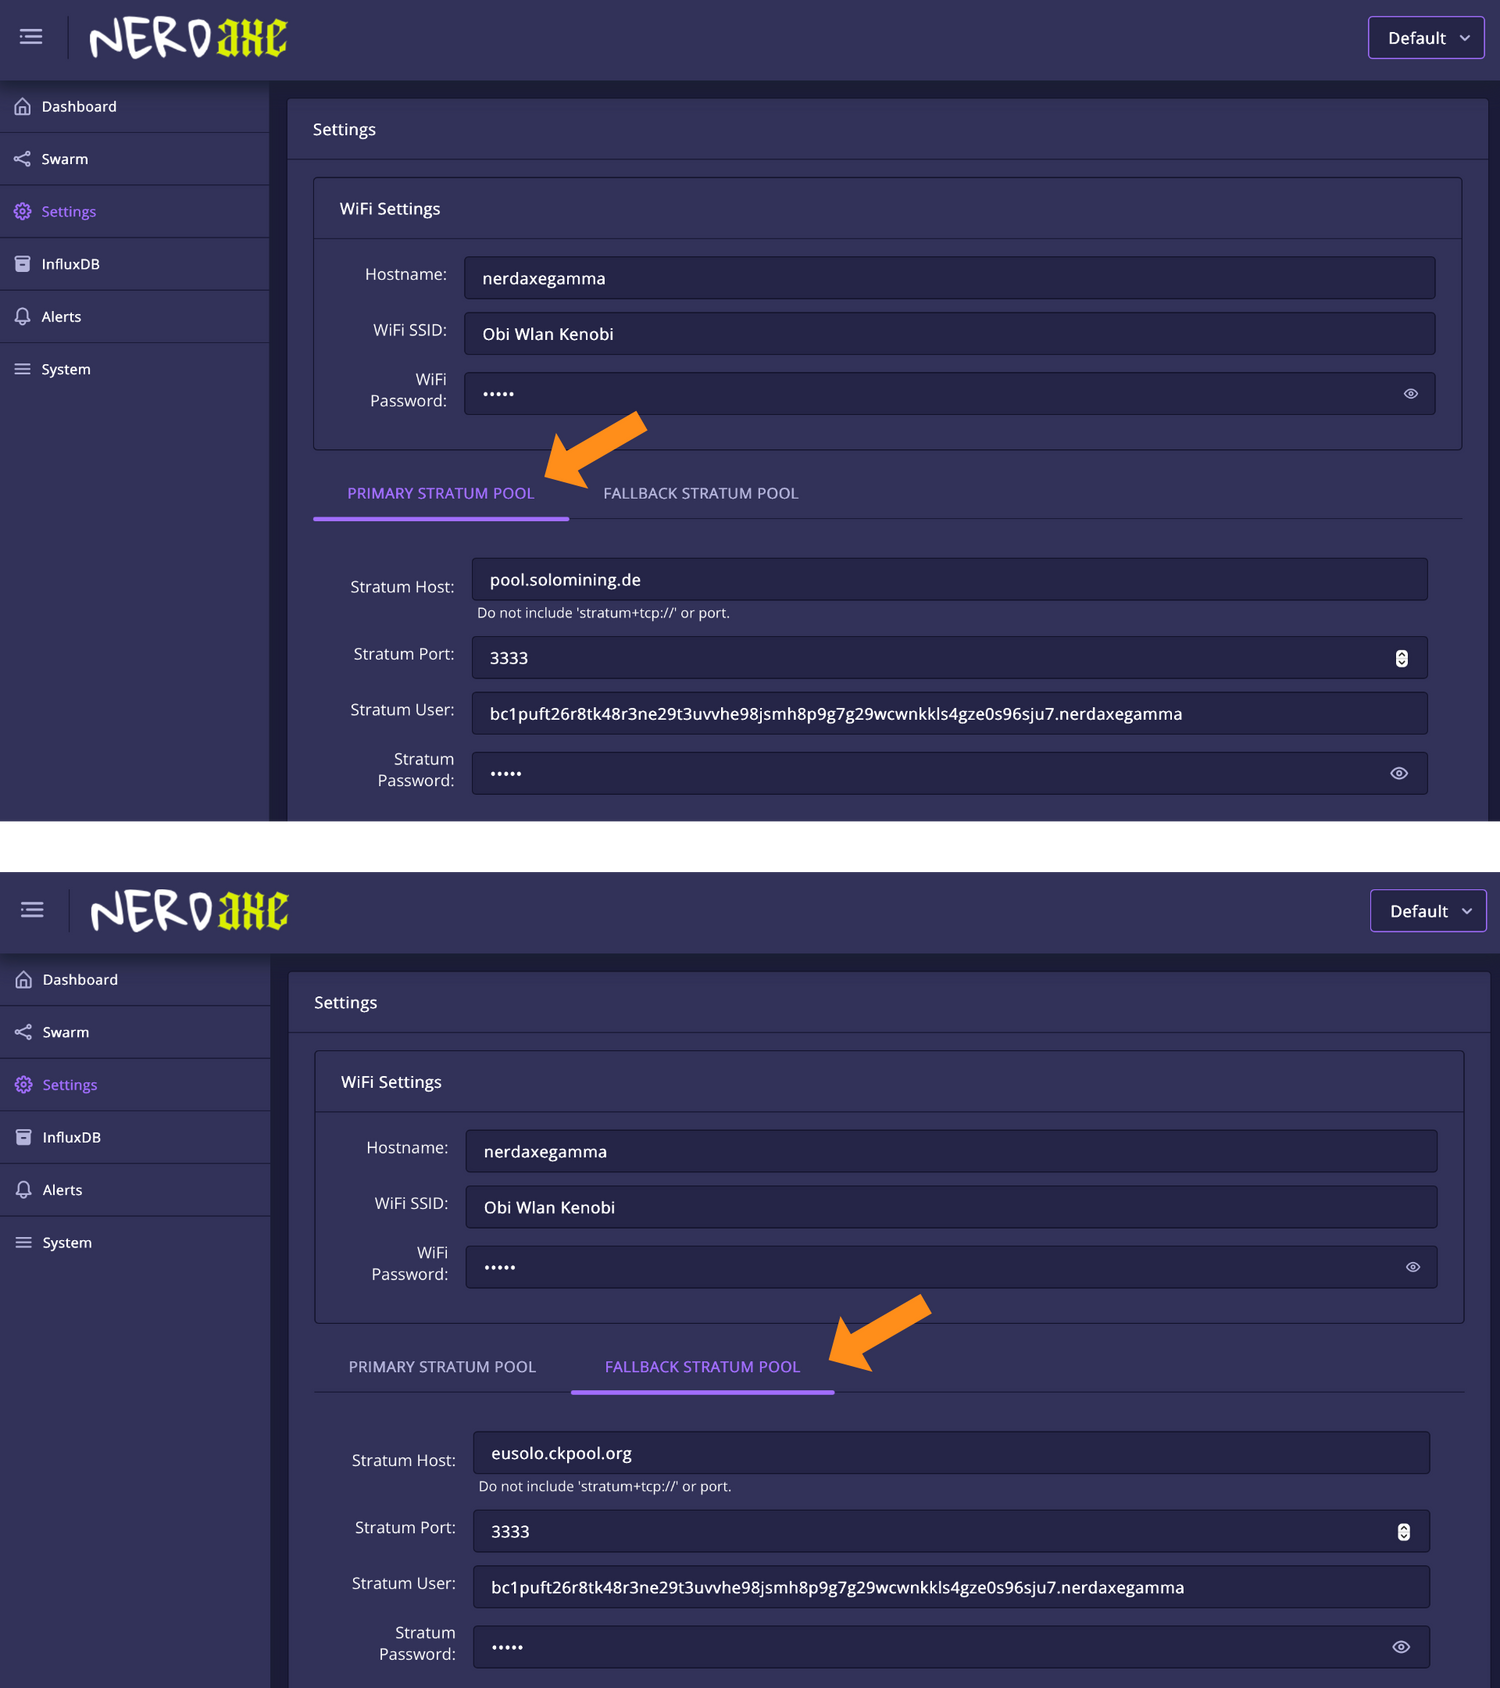
We recommend using the preset mining pools. Simply enter the Bitcoin address you want to mine to in both “Stratum User” and “Fallback Stratum User.”
If you’d like to give the miner a name inside the pool, append “.nerdaxegamma” to your address (e.g. bc1puft26r8tk48r3ne29t3uvvhe98jsmh8p9g7g29wcwnkkls4gze0s96sju7.nerdaxegamma).
Finally, click Restart once more. The Miner will reboot and immediately start mining to your own Bitcoin address.
6. Hashrate increase
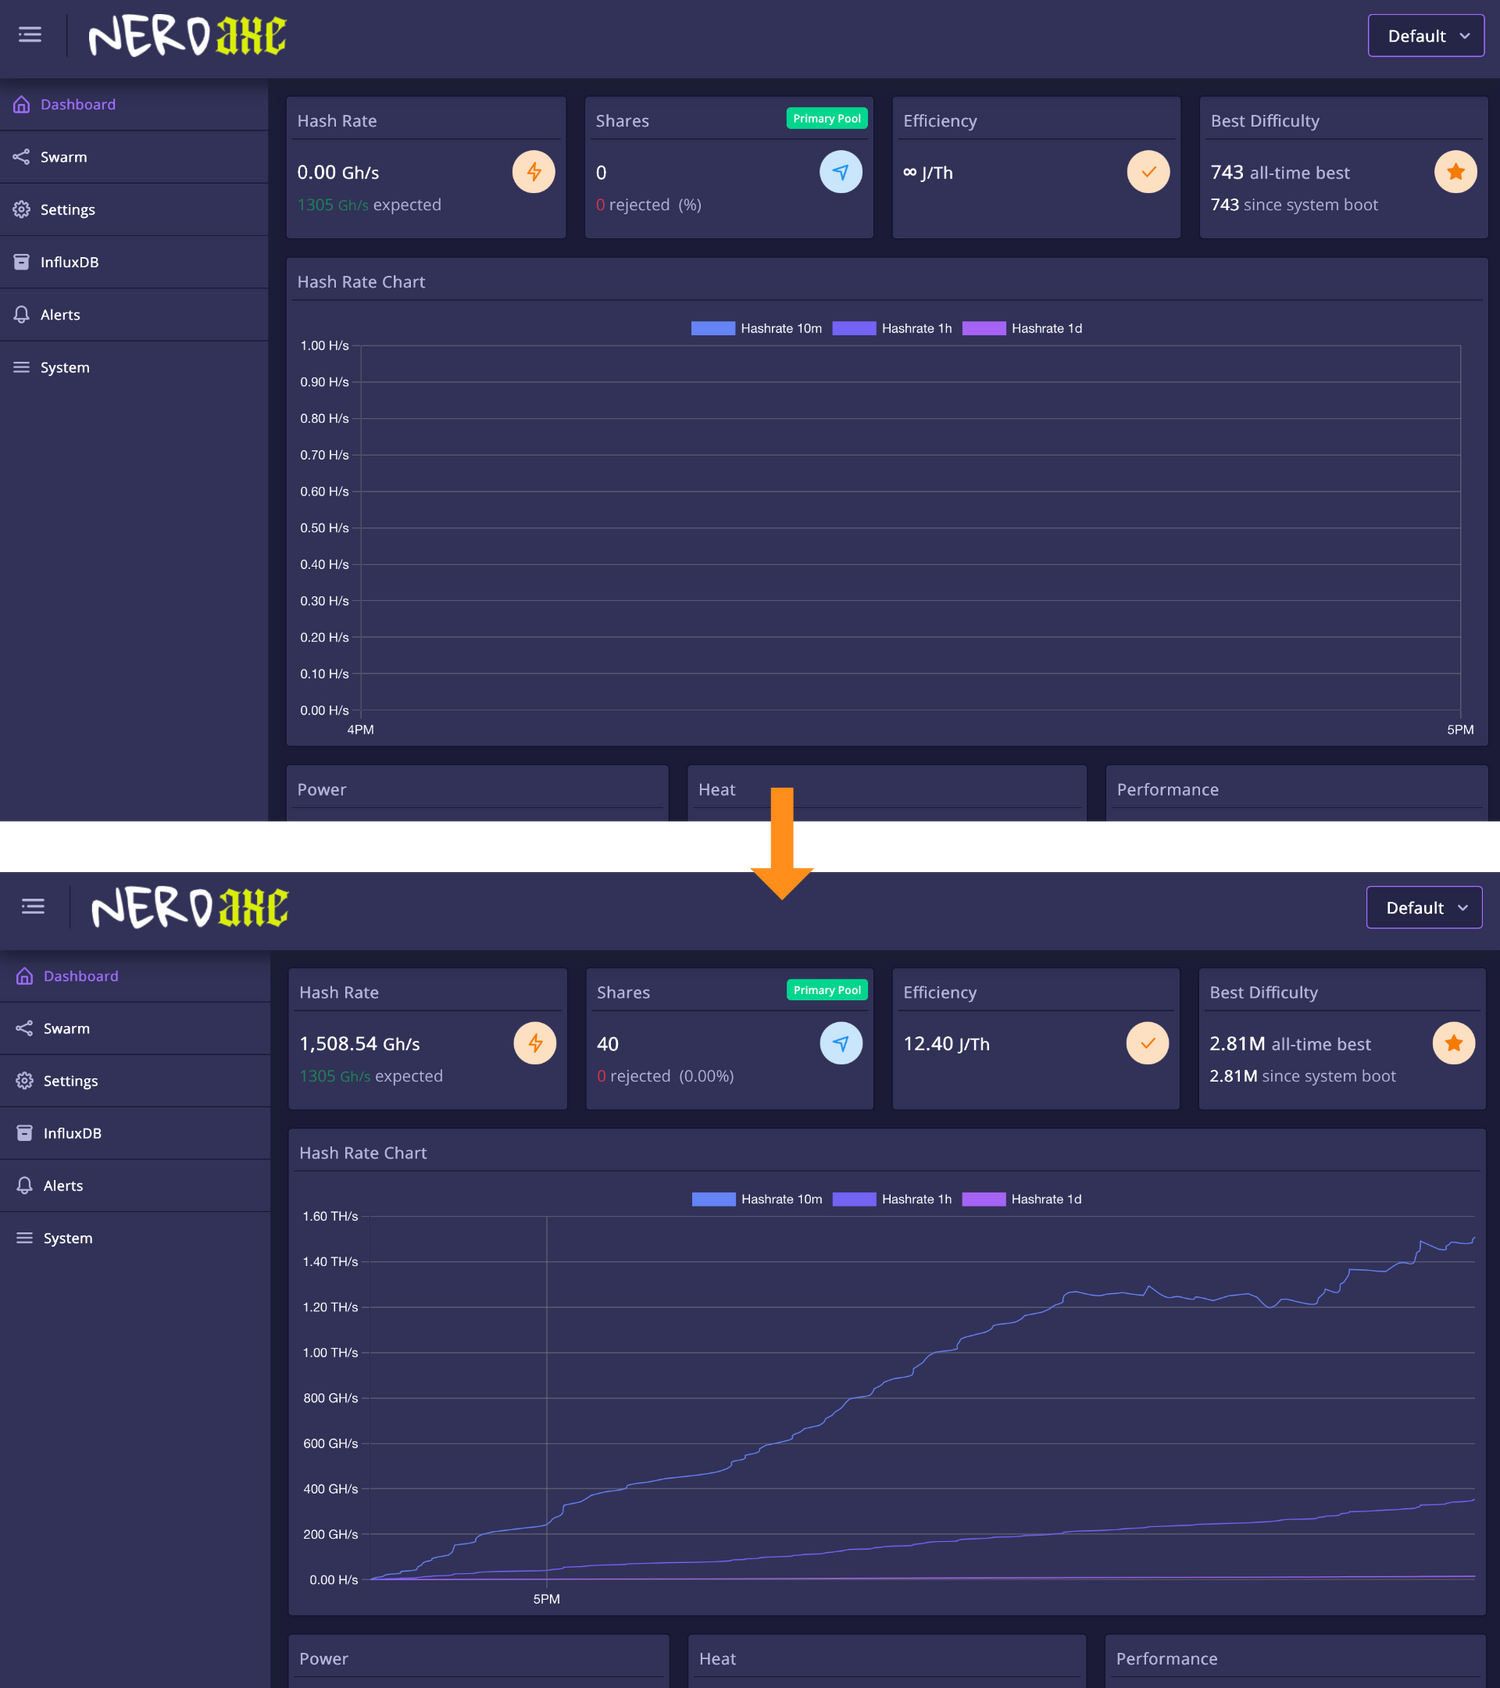
In the dashboard, you will see a graph showing the hashrate and some other data.
The hashrate displayed is based on the moving average of the last 10 minutes. Since your miner starts at 0, it takes 10 minutes for the actual hashrate to be displayed.
7. Information on the display
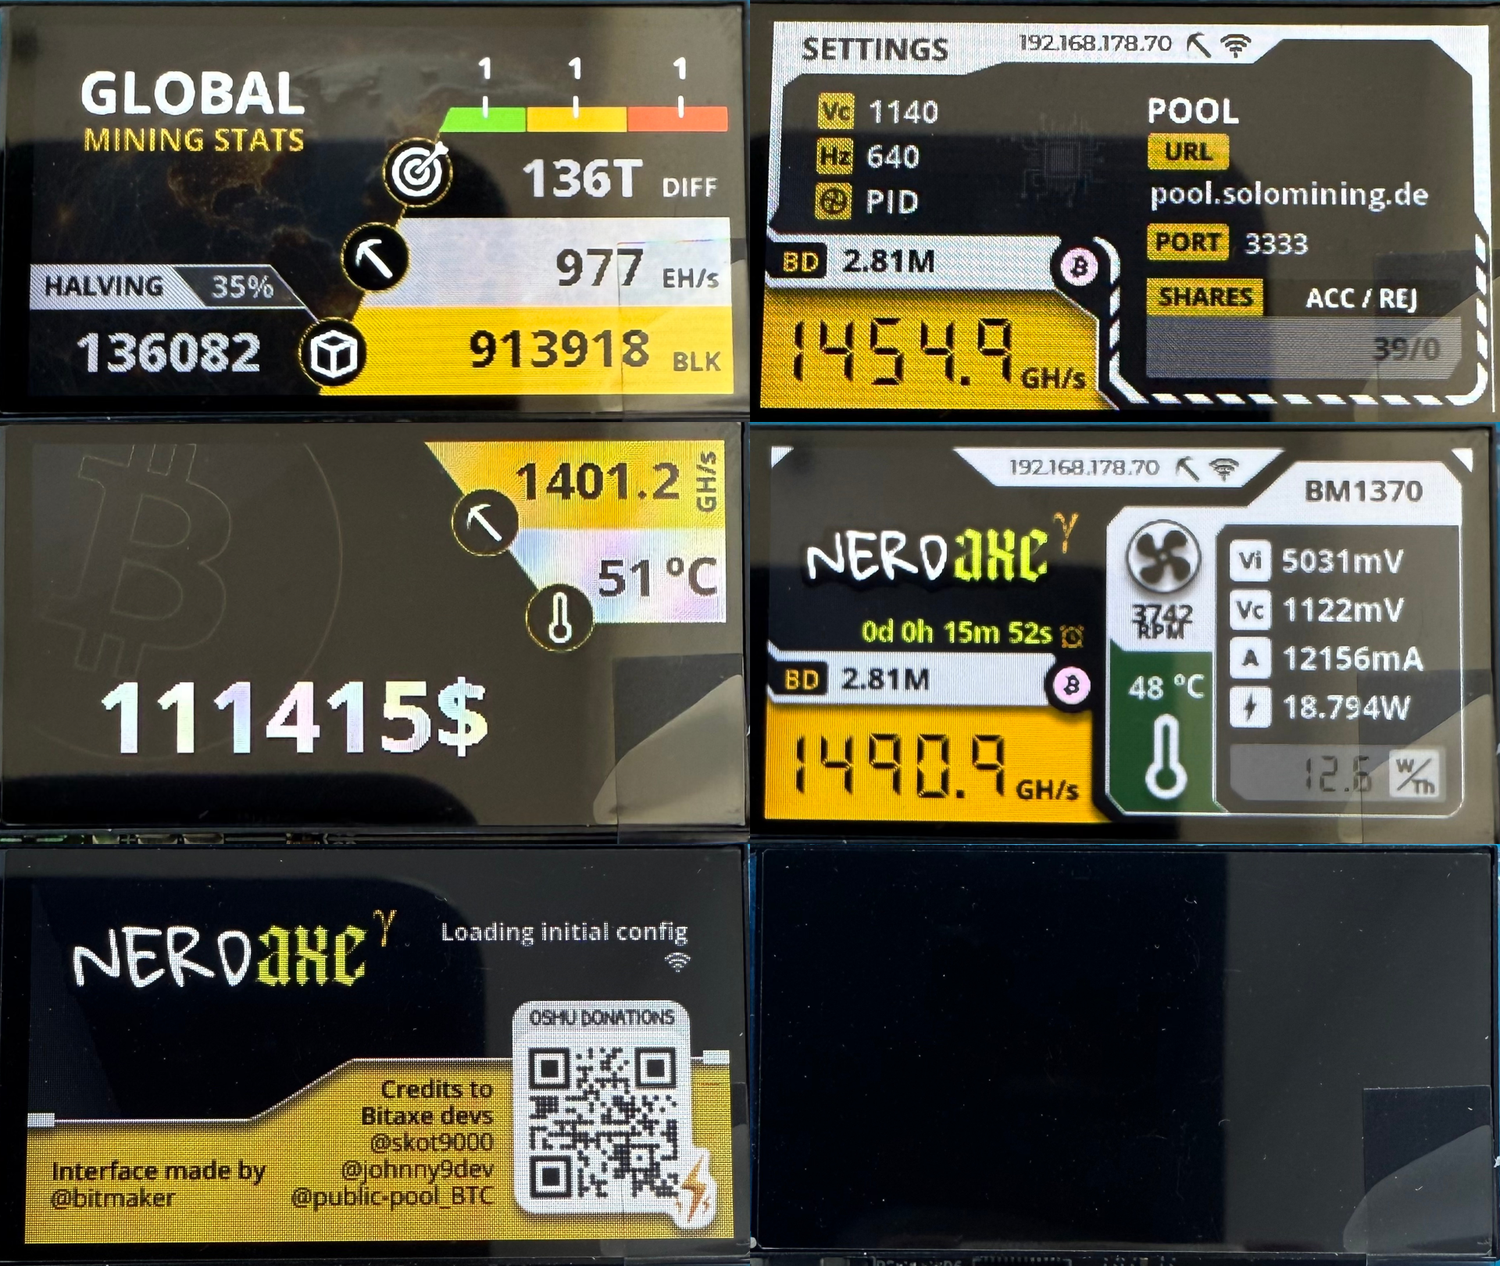
Once the Nerdaxe Gamma has successfully connected to the Wi-Fi, it can display some exciting data about the miner and the network.
The two small buttons next to the display can be used to switch between the different views.
The IP address on the display images can be used to access the device via browser.
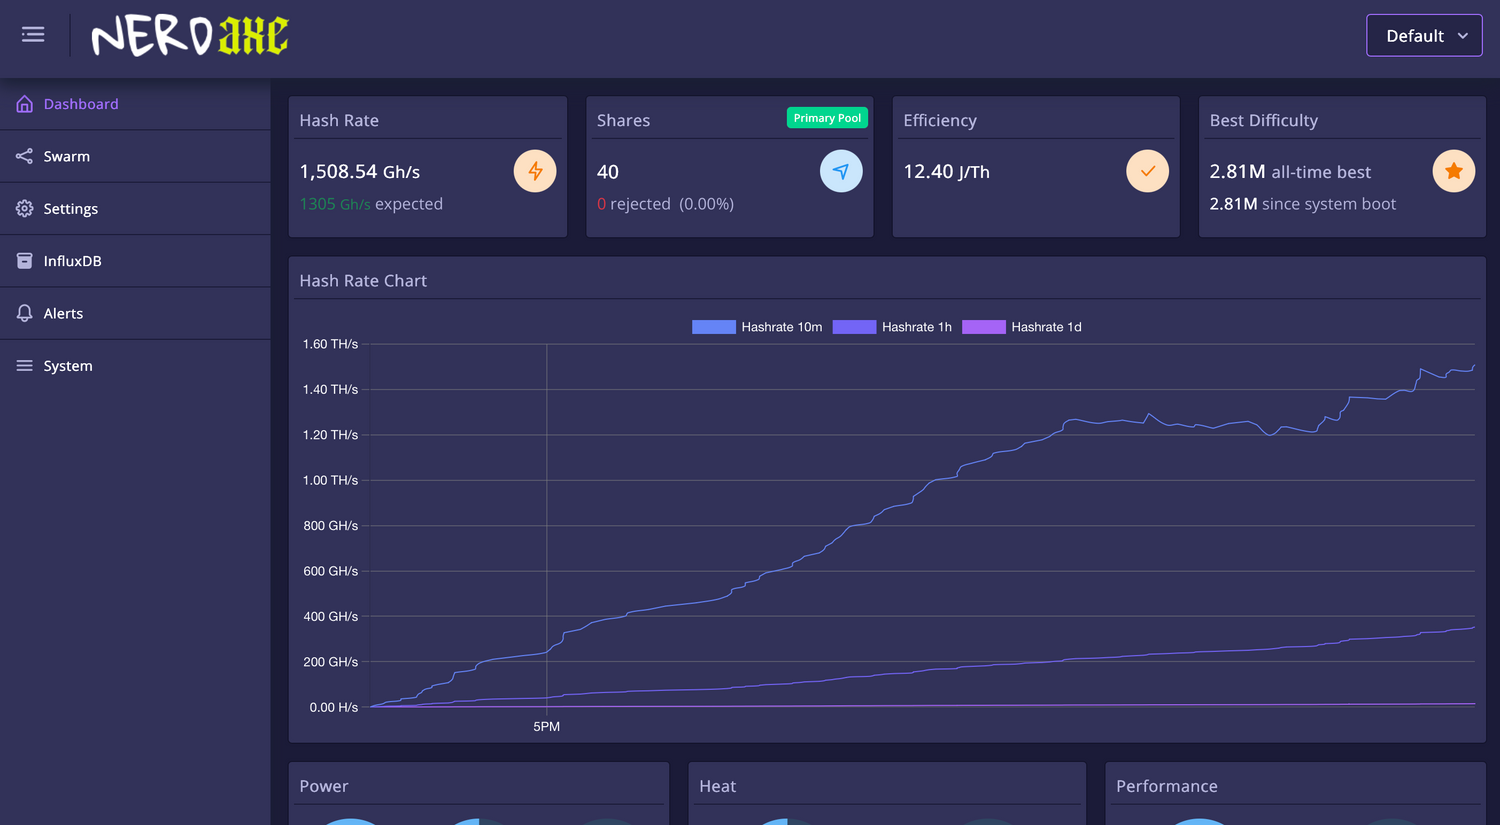
8. Access via the browser
The view after accessing the Nerdaxe Gamma via the IP address. The device is running and mining.
